Golf Simulator Lighting Guide
Get the lighting wrong and even a great projector produces a washed-out, eye-straining image. Here's exactly how we light a simulator room — and what to avoid.
The light problem in a simulator room
Golf simulator lighting sits at the intersection of two conflicting requirements: you need enough light to see your swing and the room, and you need to protect the screen image from washout.
A projected image works by reflecting light off a surface. Any ambient light in the room adds to that image — it brightens the dark areas (shadows in bunkers, rough, tree lines) and reduces contrast. With a high-quality Panasonic laser projector at 6,000 lumens, you have headroom to work with. With a 2,500-lumen entry-level unit, you don't. The projector and the room lighting need to be designed together, not separately.
The second problem is shadows on the swing. A ceiling light positioned directly above the hitting mat casts a sharp shadow on the ball and the hitting zone — which is distracting and, on some camera-based launch monitors, can interfere with ball and club detection. Even launchers using radar (TrackMan) benefit from even, shadow-free lighting around the hitting area.
Get both of these wrong and you have a room that looks fine in isolation but is genuinely unpleasant to use for long sessions.
Even, indirect light — not bright spots
The goal is to light the room evenly without pointing any light source directly at the screen or directly down onto the hitting mat.
That means:
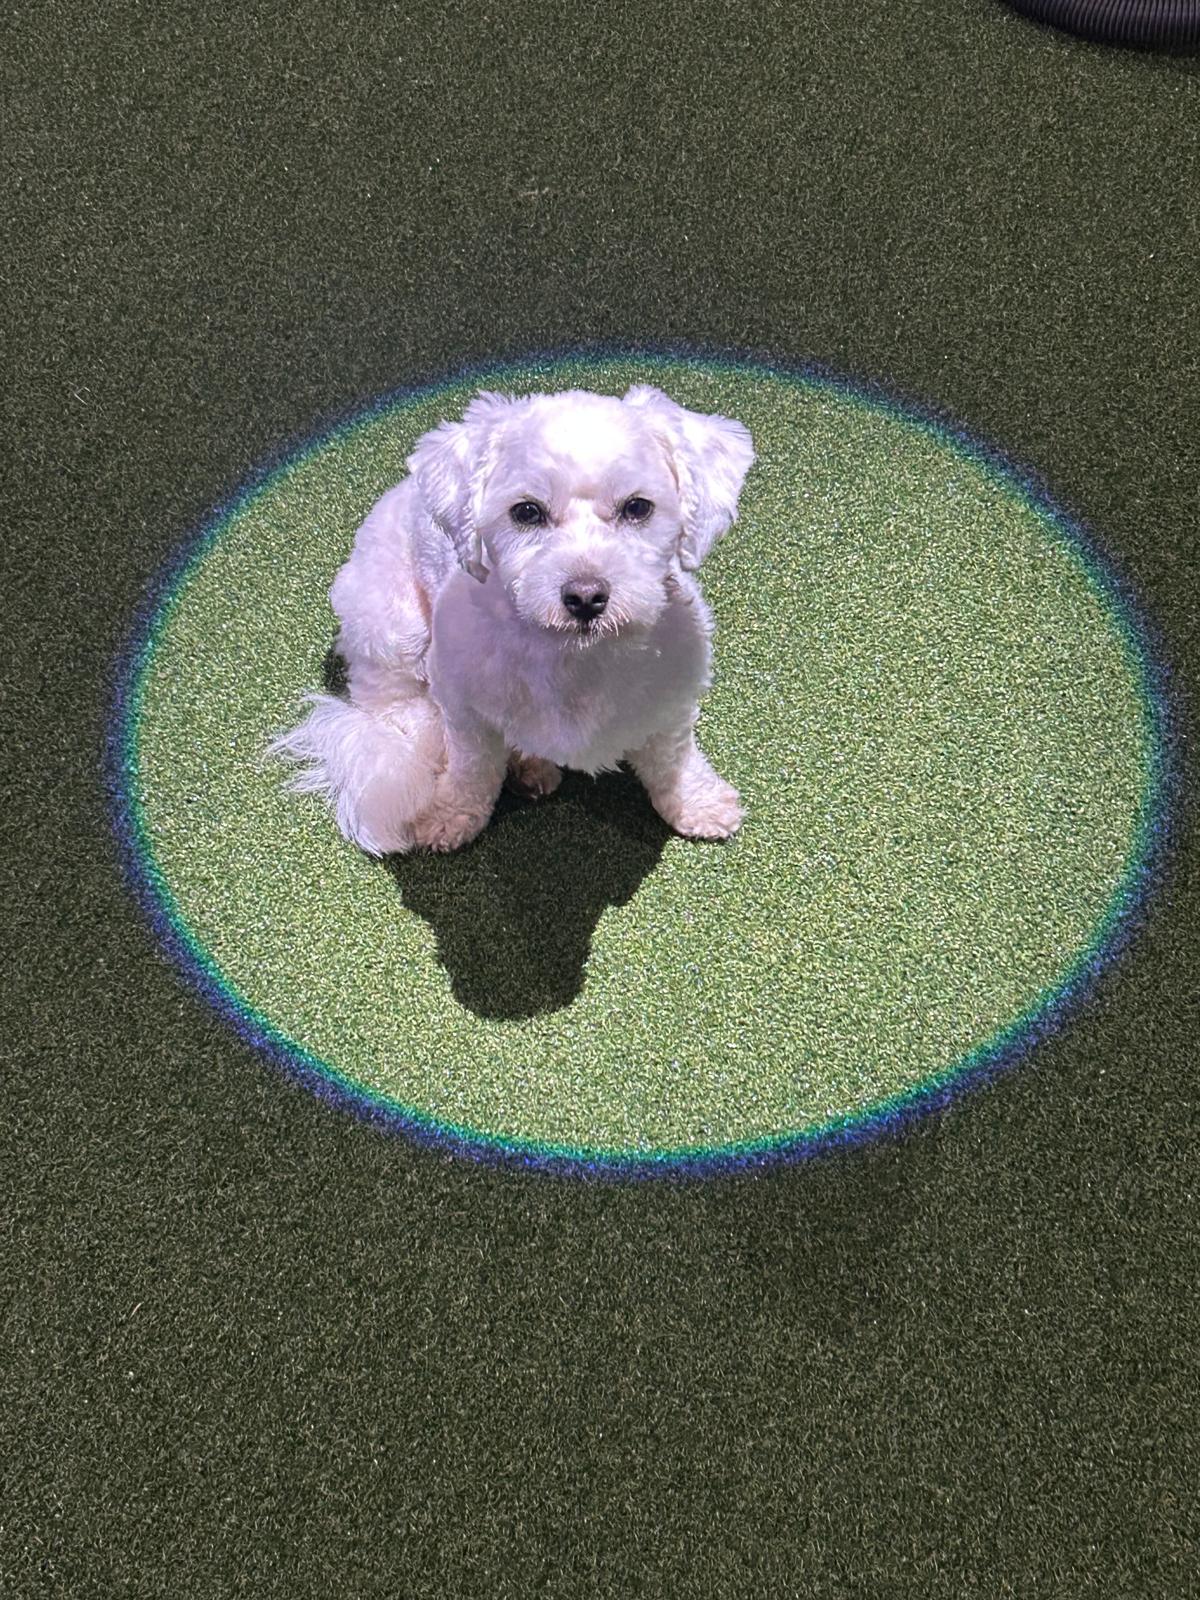
No ceiling downlights above the hitting mat. These create a bright pool on the turf and a hard shadow on everything around it. Move them to the rear third of the room (behind the hitting position) or eliminate them entirely from the hitting area. Exception - A 10W ADJ Pinspot is enough to highlight the ball but not too much to wash out the
No lights pointing at the screen. This is obvious once you see it, but surprisingly common in rooms where the simulator was installed into an existing space with fixed lighting. Anything that throws light onto the screen surface needs to be repositioned or shielded.
Wall washing and cove lighting work well. Light bounced off walls or ceilings (away from the screen end of the room) gives even, diffuse illumination with no harsh shadows and minimal screen impact. LED strip in a ceiling cove, facing the rear wall, is a clean solution.
Rear-of-room lighting for general ambience. Fitting recessed downlights in the rear 1.5–2m of the room (behind the player) gives practical light for setup, equipment access and socialising without compromising the image.
Projector lumens vs ambient light: the trade-off
The Panasonic laser projectors we install sit at approximately 6,000 lumens, which covers normal room use comfortably. Laser projectors also maintain their brightness over time — lamp projectors degrade significantly over 2,000–4,000 hours of use, which means the projector that was fine at install becomes progressively worse. If you're speccing a projector, the 20,000+ hour laser lifespan and consistent output are worth the price difference. We also stock a range of BenQ 4k Projectors that are great if you'd like to double up as a home cinema.
For rooms with fixed, uncontrollable ambient light (a window that can't be blacked out, a door with a glass panel), the projector brightness needs to compensate. Alternatively, grey high-contrast screens improve the perceived contrast ratio in bright rooms compared to standard white screens — the darker base absorbs more ambient light while still reflecting the projector beam effectively.
What kind of bulbs to use
Colour temperature affects both how the room feels and how the screen image reads to the human eye.
Recommended: 3,000K–4,000K LED (warm white to neutral white). This range renders the greens and fairways on screen with natural colour — the eye is calibrated to this range in normal environments, and the on-screen golf course colours look correct.
Avoid: Daylight LEDs (5,000K–6,500K). These add a blue-white cast to the room that fights with the warm tones of a well-calibrated golf simulator image. Courses end up looking cold and the green surfaces lose their richness. Some customers with daylight LEDs installed describe the image quality as 'clinical' — the fix is a bulb swap, not a projector upgrade.
Avoid: Halogen and old fluorescent fittings. Halogens produce a lot of heat in a small room (the hitting area warms up quickly with two or three people in it). Fluorescents flicker at a frequency that interacts with some camera-based launch monitors, producing inconsistent shot readings.
Dimmable LED circuits in the rear section of the room give you the flexibility to drop the ambient light level for serious practice sessions while keeping full illumination for setup and between-shots.
The hitting mat area specifically should aim for 300–500 lux of even illumination — bright enough to see ball position clearly, even enough to avoid shadows. A simple lux meter (inexpensive, available online) takes the guesswork out of this.
How we approach lighting on a full install
On a full room design, we plan the lighting alongside the screen position, projector mount and hitting mat location — not as an afterthought. we are happy to talk to your electrician to plan out your lighting. The sequence on install day is:
1. Fix the screen position (back wall clearance, screen size) 2. Fix the projector mount position (throw distance, angle, height — typically ceiling-mounted 2–3m behind the player on a UNICOL or similar adjustable arm) 3. Mark the hitting position (where the player stands, where the mat goes) 4. Plan lighting zones — rear ambient, side wall wash, ceiling cove if the room allows; nothing in the forward zone (screen side) of the room
If you're fitting a simulator into an existing room with fixed lighting, the most common fixes are: adding a dimmer to rear lights, installing a short baffle or shield on any fitting that throws light toward the screen, and blacking out windows with roller blinds or a curtain.
If you're doing a new build or conversion — garden room, garage, dedicated room — design the lighting in from the planning stage. Changing circuits after the plasterboard is on is an avoidable cost.
Related: Room Design & Dimensions · How Much Space Do You Need? · TrackMan Setup Guide
The quick checklist
If you're designing or retrofitting a simulator room, these are the lighting questions to answer before finalising the spec:
Are there any light sources that can throw onto the screen? Move or shield them.
Are there downlights directly above the hitting mat? Move them to the rear of the room.
What's the ambient light level when the room is in normal use? Match the projector brightness accordingly — 6,000 lumens for a room with lights on.
Are the bulbs in the 3,000K–4,000K range? Swap anything daylight or halogen.
Is the rear lighting zone dimmable? It should be.
Not sure how your room works? Send us the layout and we'll tell you what we'd do with it. Or book a €50 consultation at our Dublin demo centre — redeemable against purchase — and we can walk through the whole room design together. Call 01 582 6935.
Related: Golf Simulator Lighting · Projector & Screen options · Contact Us
Designing a simulator room? Get the lighting right first time.
Book a €50 consultation at our Dublin demo centre — fully redeemable against your order. We'll plan the lighting, projector and layout together. Call 01 582 6935.
Or call us directly: 01 582 6935