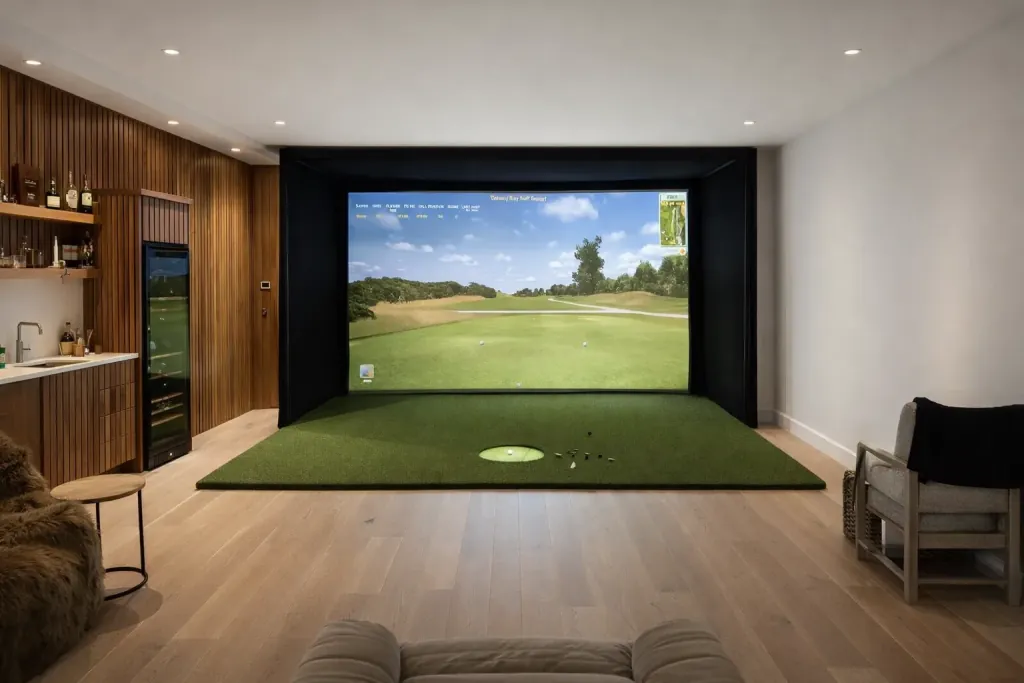
6 Steps to Your Home Golf Simulator
A step-by-step guide to planning, choosing, and installing your home golf simulator — from initial goals and space assessment through to installation day and beyond.
1 — Define Your Goals
Before measuring anything, decide what you want your simulator to do for you. Practice and improvement, family entertainment, year-round play — or some combination of these.
Your goals shape the technology, the room, and the budget. A practice-first build prioritises ball-flight accuracy and impact-screen quality. An entertainment-first build prioritises picture, immersion and ease of use.
2 — Assess The Space
Measure ceiling height first — most setups need at least 2.8m. Then width (3m minimum) and depth (5m minimum). Garage, spare room, garden studio: each has its own quirks.
A site visit lets us identify what's easy, what needs work, and what's a no-go.
3 — Choose The Technology
Launch monitor, projector, screen, enclosure, computer and software all need to work together. The "best" of each isn't always the right combination — pieces are selected as a system.
4 — Plan The Room
Flooring, lighting, electrical, ventilation and acoustic treatment all matter. We design the room — not just install equipment in it.
5 — Installation Day
Two-to-three days on site for most home builds. Calibrated, signed off, and only handed over when it plays right.
6 — Follow-On Help
Software updates, hardware swaps, room adjustments. We're still your point of contact years later.
Have a project in mind?
Book a consultation and we'll map the route from idea to installed simulator.
Or call us directly: 01 582 6935